
One of the reasons why most of us blog is so that we can share our hobbies and loves with others- or in other words, so we can talk about things we enjoy and not bore our spouses with the details over and over again. That's why I am here today to teach you how to cross stitch. I know, I know. Just here me out.
I have been cross stitching intermittently since I was a kid; I'd buy the kits at the craft store and would be super gung-ho about the project for a few weeks and then quit or forget about it or mess up so badly that I became frustrated (I was like ten, give me a break). Then a few months later I'd repeat the process. What I have always appreciated, though, is that it's something you can do while watching TV, hanging out around the house, or when you know you might be interrupted, since it's easy to pick back up. You're also making something, which I see the logic in. Cross-stitching is a fairly cheap hobby (I'd say between the pattern and materials you'll spend around $20, depending on how many skeins of floss you need; framing will add to the total), and it's totally easy. I took up the hobby again after a few years of a break and am so glad.
Sold? Ready to go? Excellent.
1. Pick a pattern. Back in the day you bought kits at the craft store with everything you needed, minus the hoop. They were quite pricy! Now this wonderful site- you may of heard of it- Etsy, is the place to get started (I kid, I kid, even my husband knows what Etsy is). Just search for cross stitch patterns, specifying certain designs you have in mind or ("nature cross stitch" or "easy cross stitch") and you can download your patterns and instructions instantly. I am getting started on "Abstract Mountain" by WooHoo Cross Stitch- what it will eventually look like is right here:
 |
| [source] |
I suggest not choosing something that has a million different colors to start off. There are actually many really cool ones that are monochromatic, which may seem boring but simplifies switching out thread and ends up looking cool (the Harry Potter one I did a few months ago is a great example).
2. Once you have your design selected you will download the actual pattern itself and the instructions, which will include the colors you will need (along with the DMC numbers for easy purchasing at the craft store), suggestions on what sort of thread count Aida cloth to get (the higher the count the smaller the finished product), whether there are any other stitches besides cross stitch (sometimes you will need to backstitch or do french knots; backstitch is super easy, but even I have to google refresher steps for the knots...), dimensions, etc...


3. Gather the supplies! You will need your pattern, embroidery floss (if for some reason you can't find a certain color you can either order it online or find something close), a big enough hoop, a needle, and scissors.

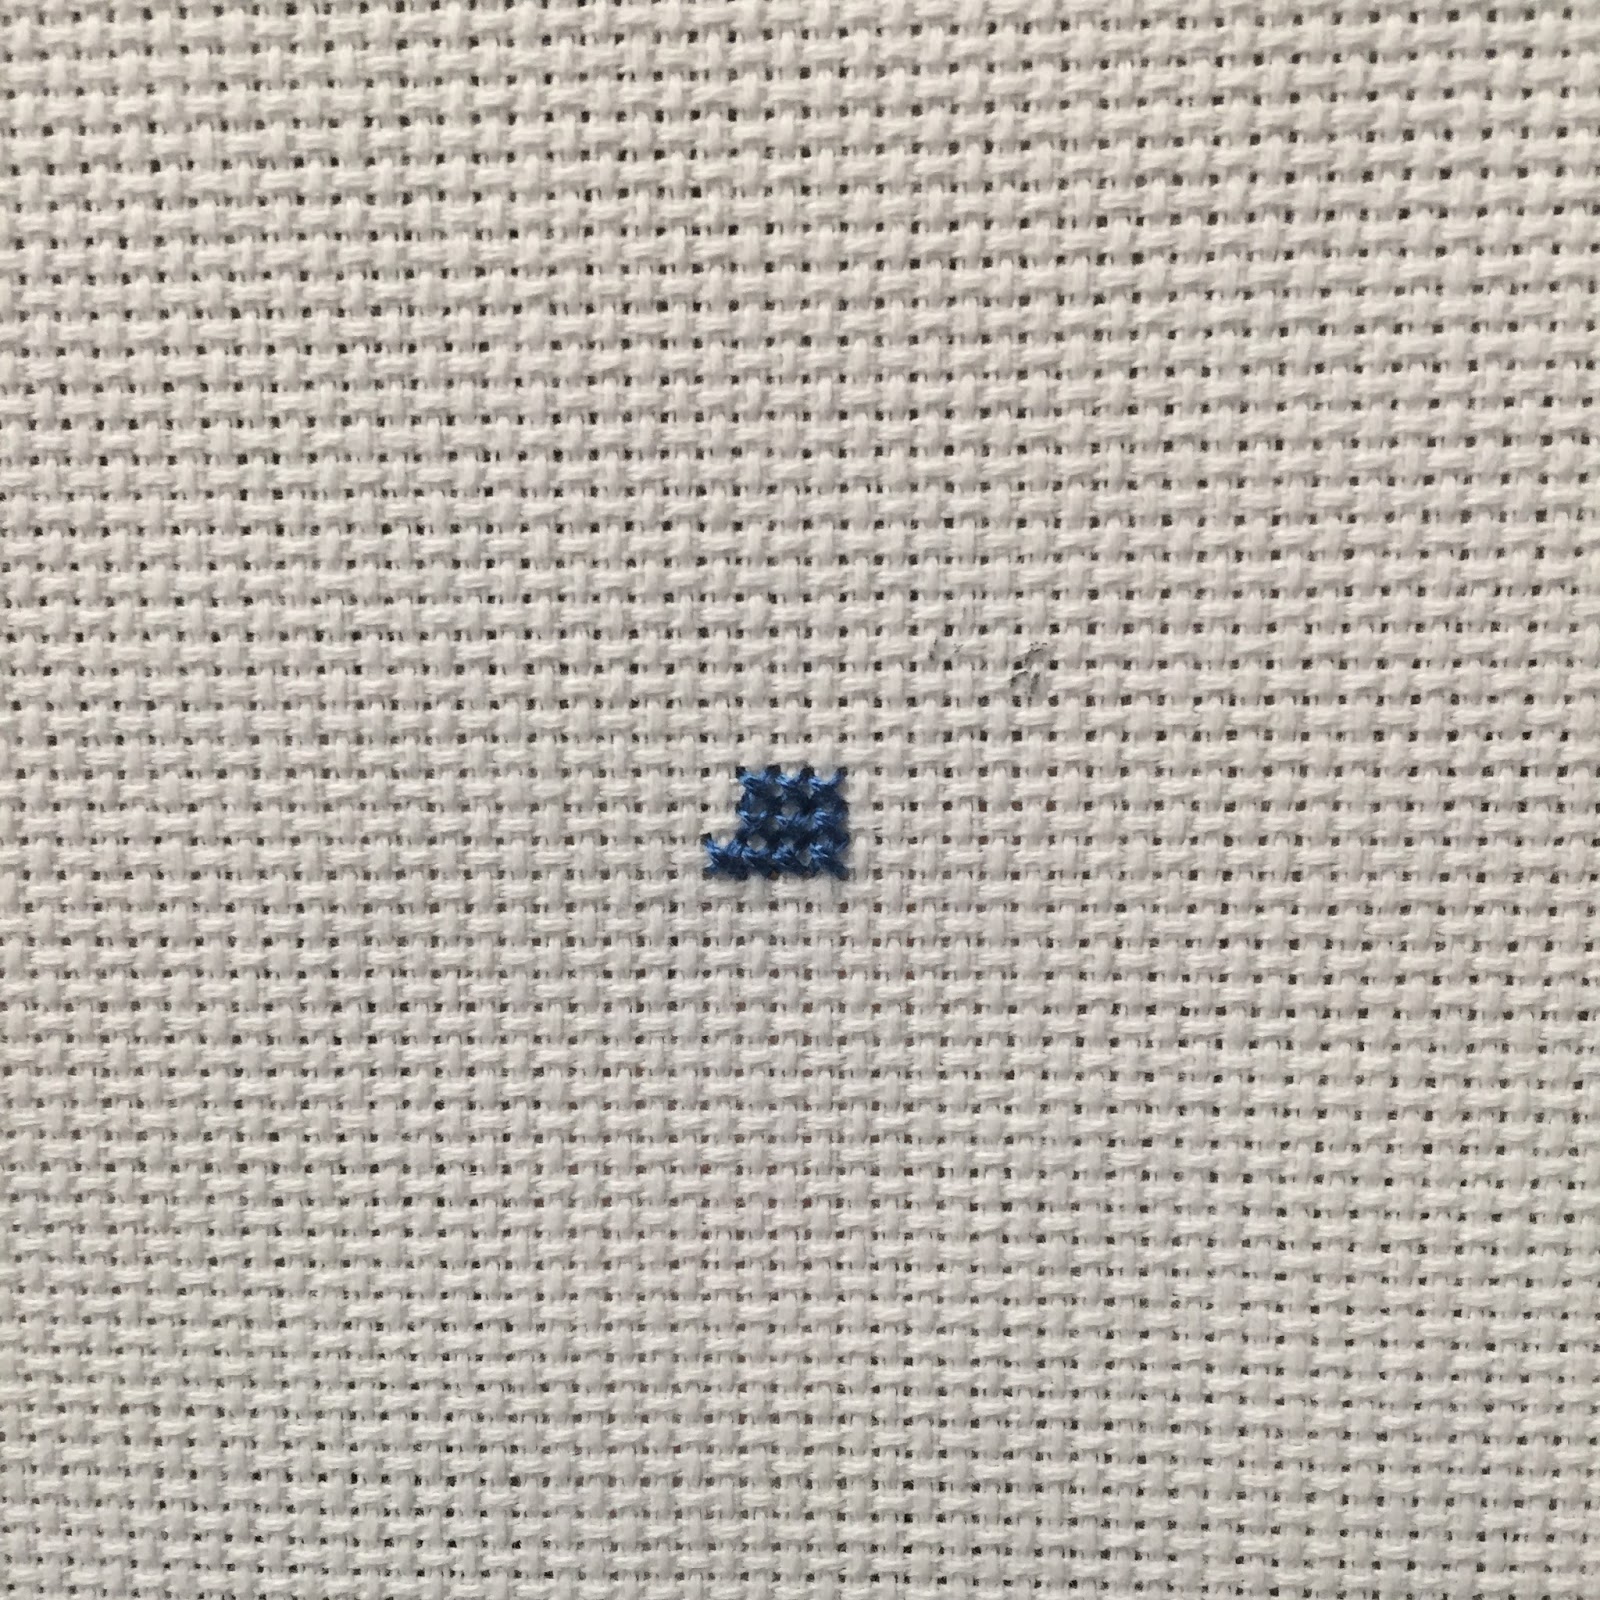
4. Locate the middle of your cloth (I mark it lightly with a pencil) and tighten the hoop around it. Then, make sure you have the center of your pattern marked. After that it's up to you whether or not you want to start in the direct middle- a lot of time it's not practical. For the mountain above the middle was in the white snowcap, which would have shown up poorly for this tutorial, so I counted over until the navy blue started. As long as you know how to count, you know how to cross stitch!

5. Once you have decided where to start then cut an eighteen-ish inch piece of floss. Then, split off two threads of your embroidery floss. Floss comes in six strings- you only want two at a time. Thread your needle.

6. Decide what direction you are always going to make the first part of your cross; I go from the bottom left hole to the top right. It's important you are consistent. Make your first stitch and knot the pieces in the back.

7. Count how many stitches are in the direction you want to go in; there's no law you have to do it this way, but I tend to do the first part of the stitch in a line and then go back down and finish the stitch (the pictures make it easier to understand).


8. Keep going! Get the hang of it! Don't worry- you're string will tangle, you'll have to undo a stitch occasionally when you lose count, and your hands may hurt in the beginning. But keep going. You just figured out how to make binge watching whatever the people love these days more justifiable.
Helpful Hints:
- Wash your hand! I cannot stress this enough. The cloth is light and so are some of the colors; even just basic human skin oils can cause discoloration.
- Mark off the squares you have done with a pencil so that you know what's done and what's not.
- The back will be a hot mess; as long as the front is fine, who cares?

 |
| [I just finished this and it needs to be ironed and mounted] |
- When you're done do something with it! Hang it in the hoop, give it away, mount and back, post pictures on Instagram... whatever. Just don't put in a drawer and forget that you risked Carpal Tunnel Syndrome on that bad boy.
-You're design probably won't be perfect, but do try to be really mindful of your counting and double check once in awhile.
- Figure out a way to organize your floss. When I was a kid I used a box and had my colors on cards- the right way to do it. Now that I am older I have been using a terribly wasteful baggie system, one that will be fixed soon since I just bought a floss organizer (they make good earring holders too...)
I love this post! I got hooked on cross stitch when I was 6 years old...it was big in Europe (maybe still is, I don't know), and we spent the summer there visiting my grandparents. I remember doing a lot of cross stitch and bringing a bunch home with me. But that's where the memories end. Your posts about it have inspired me to pick it up again. I love the idea of having something to do with my hands while watching TV/movies since I get antsy and my husband frowns upon me scrolling through my phone while we're trying to watch something. The nerve! BUT, I've been intimidated to start...this post reassures me I CAN do it, so thank you! Saving it for future reference. And now everyone is getting cross stitch for Christmas, haha ;)
ReplyDelete